How to build a bioinformatics workstation in two steps
View the Project on GitHub ahmedmoustafa/bioinformatics-toolbox-light

Setting up a bioinformatics workstation can be a tedious and frustrating process. Sometimes, it might require a computer guru to set up bioinformatics tools, especially when it comes to the not-uncommon endless loop of dependencies between the tools and the libraries. So, an out-of-the-box preinstalled workstation can save a lot of time and hassle and allow you to focus on addressing your research questions instead of struggling to install and configure software packages. This applies to, for example, a BLAST search or genome mapping running on your personal laptop on your desk or a high-performance computing server in the data center at your institution.
This short tutorial shows how to build a bioinformatics workstation on any computing device and operating system that supports Docker, including laptops, servers, and workstations running Windows, Mac OS, or Linux. After completing these two steps, you will have a working system for bioinformatics analyses. What this tutorial is not is how to use the different bioinformatics tools bundled in the Docker image that we will install.

Docker is a virtualization engine, and more accurately, containerization. The two terms are not entirely the same, but we will use them interchangeably here for the sake of simplicity. This engine separates the virtual machine (the container) from the hosting operating system (e.g., your Windows or Mac). This separation includes all installations, configurations, and computes that happen within the container. So in a way, what happens in Docker stays in Docker.

The beauty of virtualization/containerization is portability (run it anywhere) and reproducibility (same infrastructure shared and available for anyone to rerun exact analyses and reproduce exact results). Usually, one creates a Docker image (we are not covering that here) with a specific set of tools and settings. Then, they share and distribute this exact image privately or publicly so others can use it as is without having to reinvent the wheel. There are other virtualization tools besides Docker, for example, Oracle’s VirtualBox and VMware.
There are probably 100s of containers for bioinformatics, and they come in all sizes and shapes, from containers for specific individual tools to containers for everything under the sun (Try to Google bioinformatics containers). Here, we will use a Docker image that I created called the bioinformatics-toolbox, based on Ubuntu 20.04. It contains a standard and essential set of bioinformatics packages and languages, including BLAST, MAFFT, BWA, R, and many other tools for the different types of bioinformatics tasks. For the complete list of the included tools, see here.
The following is a walkthrough of the two steps to get your bioinformatics workstation up and running. However, to speed up the download, we will use a smaller version of the toolbox, bioinformatics-toolbox-light, with a subset of the tools, as a proof-of-concept.
Step 1. Install Docker
Docker is available for free for Windows, Mac OS (for Apple and Intel chips), and Linux (Ubuntu, CentOS, Fedora, and others). First, go to the Docker Desktop product page to download the correct version for your systems and install it. Please refer to the Docker Desktop documentation for further details on the installation steps on Mac or on Windows. Basically, you want to start with the following screen (download page) to reach the screen after (installing and running Docker Desktop):
 The Docker Desktop Homepage
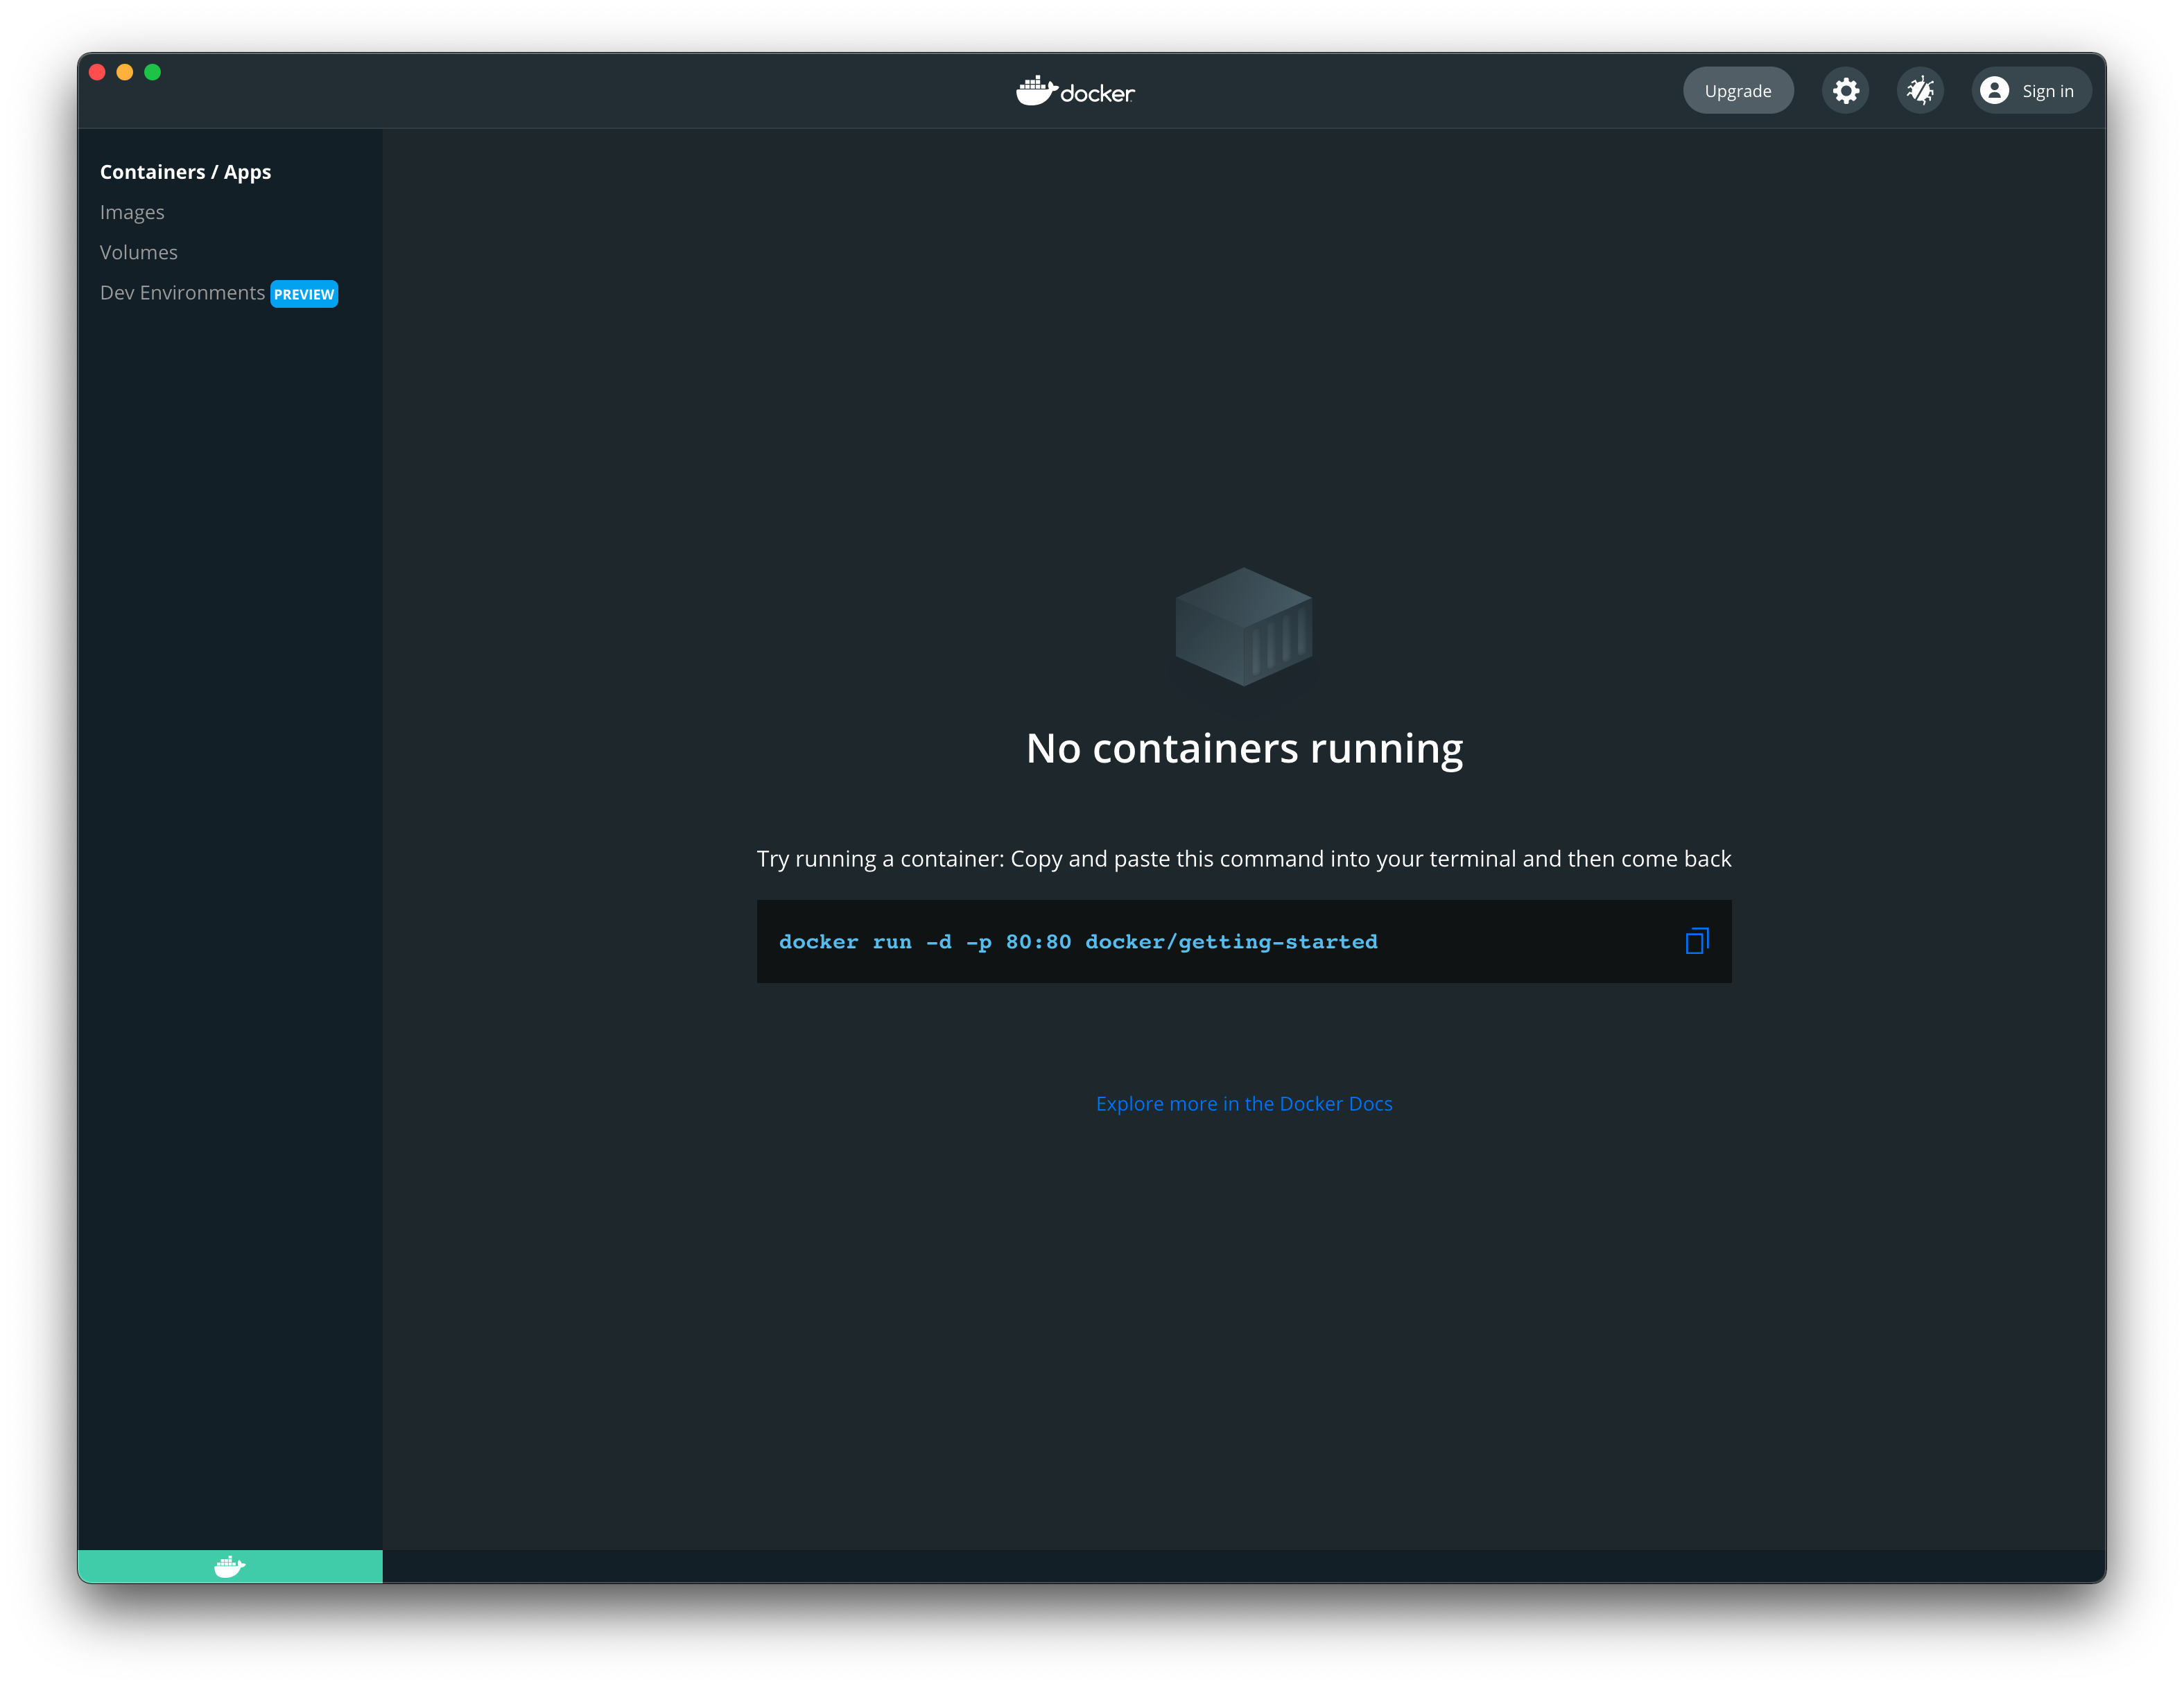
 The Docker Desktop Installed (on Mac)
Step 2. Install Bioinformatics Toolbox Image
Now go to your Terminal (on Mac or Linux) or Command (on Windows) and run the following command:
docker run -it --name the-toolbox-light ghcr.io/ahmedmoustafa/bioinformatics-toolbox-light
The above command will attempt to launch the container, but the image is not locally available yet, so the image will be automatically downloaded for you from the Github’s Docker registry ghcr.io.
This step will take time, depending on the speed of your Internet connection. In my case, it took about two hours to download the 20G image (This is the light version. The full version is larger than 40G). So, maybe it is time to go for coffee

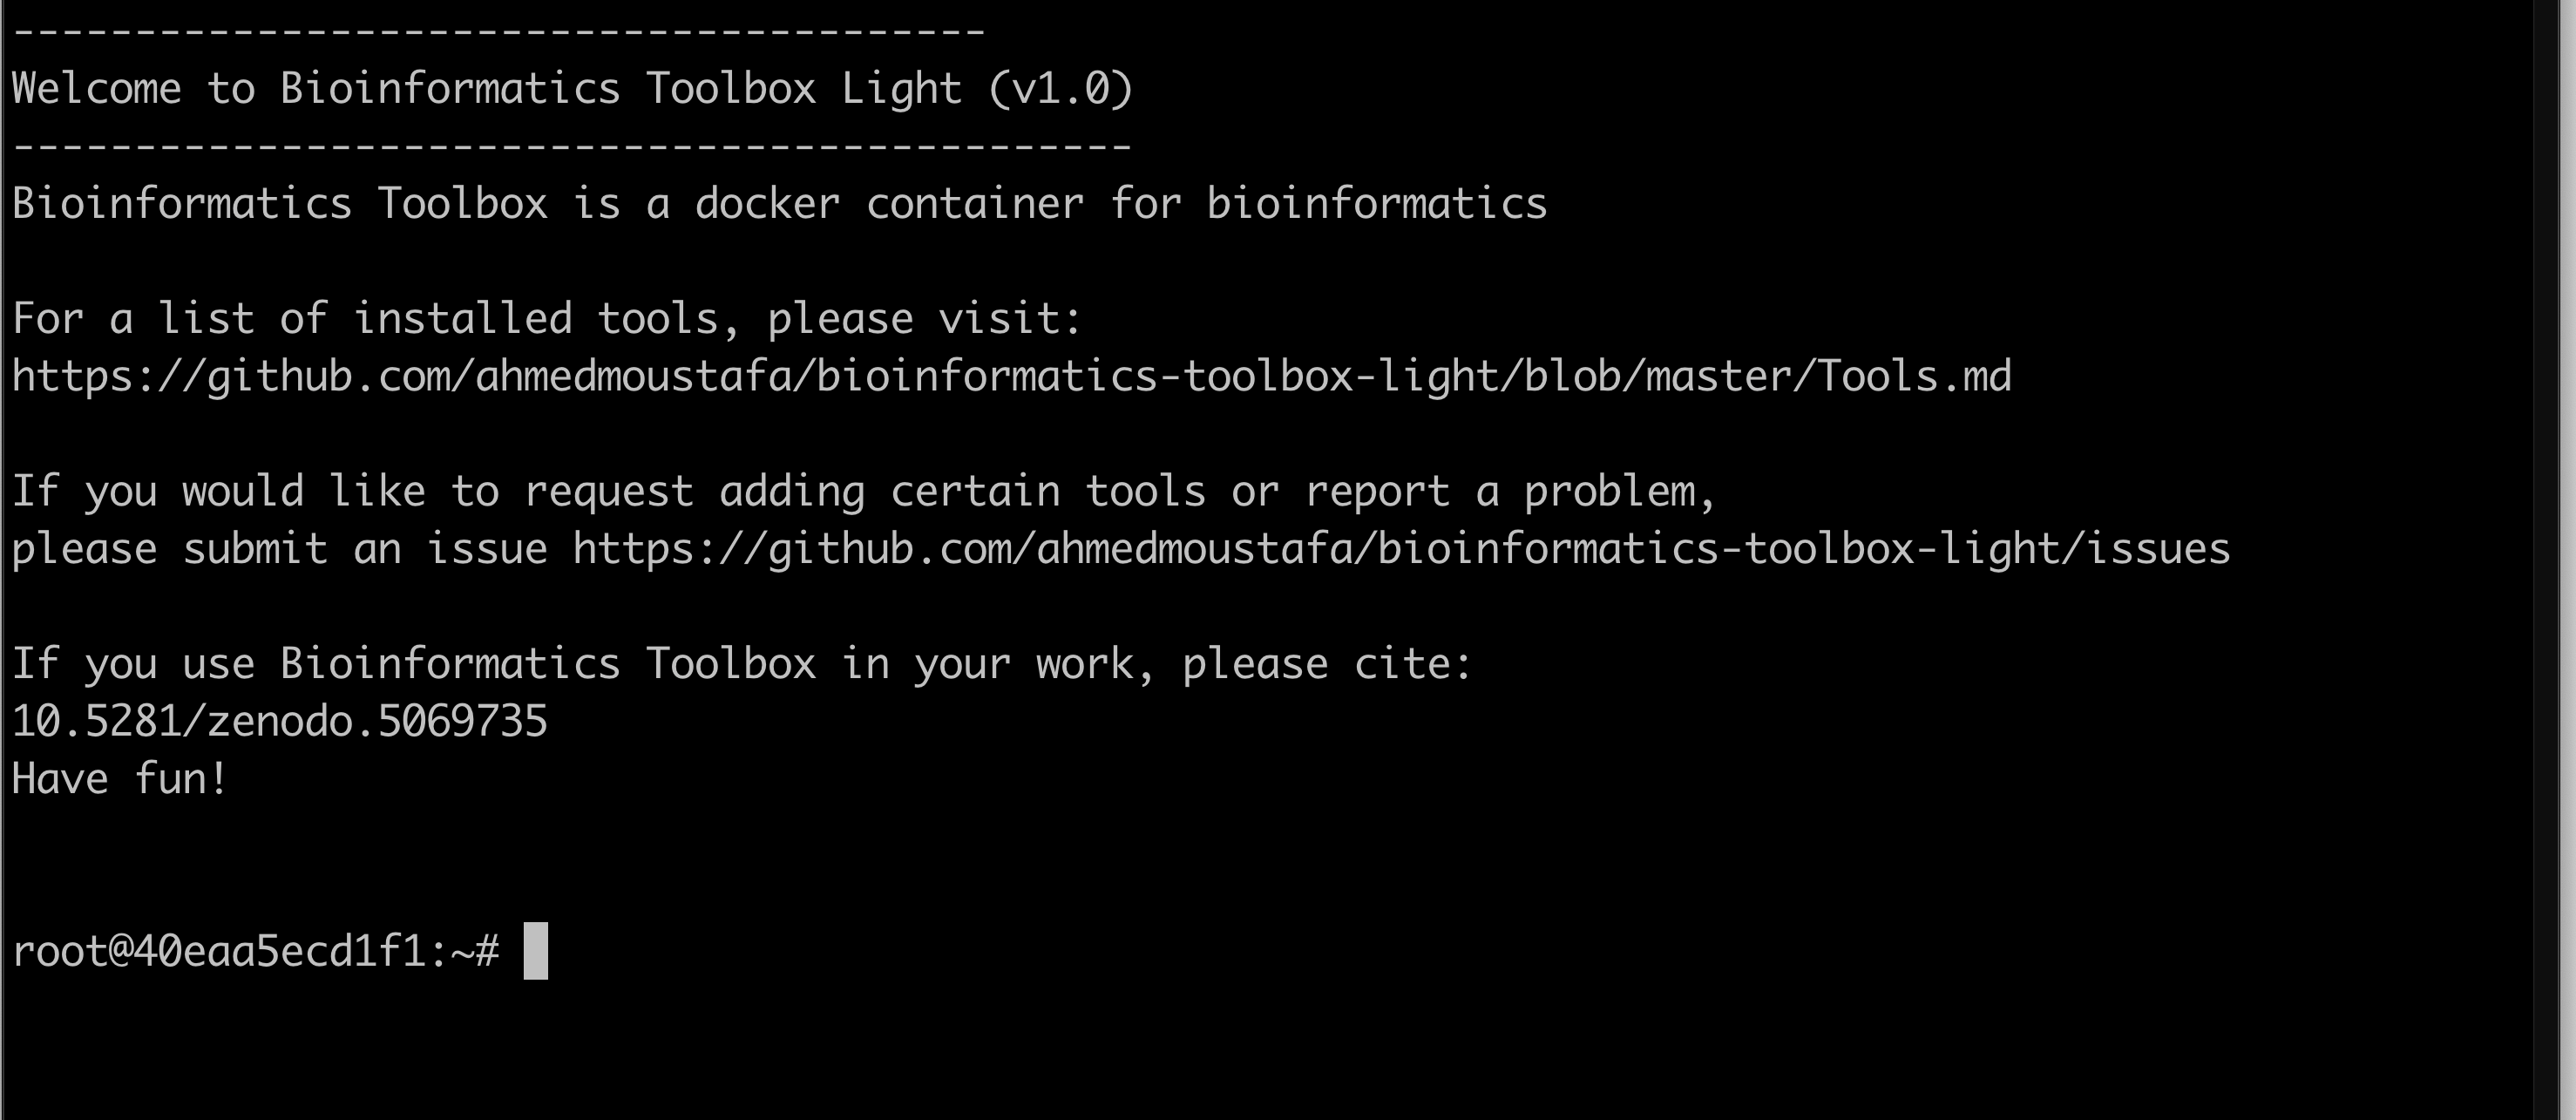
After the download is complete and successful, the container will start with all the already preinstalled tools. The bioinformatics-toolbox-light container is running now:

Example - BLAST SARS-CoV-2 Genomes
The next part is a toy example for using the bioinformatics toolbox container, which we have just installed. We will use BLAST to search for a SARS-CoV-2 isolate in a BLAST-formatted database of SARS-CoV-2 genomes (coronadb). The database contains about 400,000 complete viral genomes obtained from NCBI. coronadb is already included in the installed image. You can find it under directory /data/coronadb.

So let’s move to the coronadb directory using the following command:
cd /data/coronadb
The query sequence is the first published SARS-CoV-2 genome from Egypt, which was collected in March 2020, MW451601, and it is stored in myquery.fas located in the same directory.
Finally, to run BLAST, use the following command to search MW451601 against coronadb and display the top 10 matches in a tabular format:
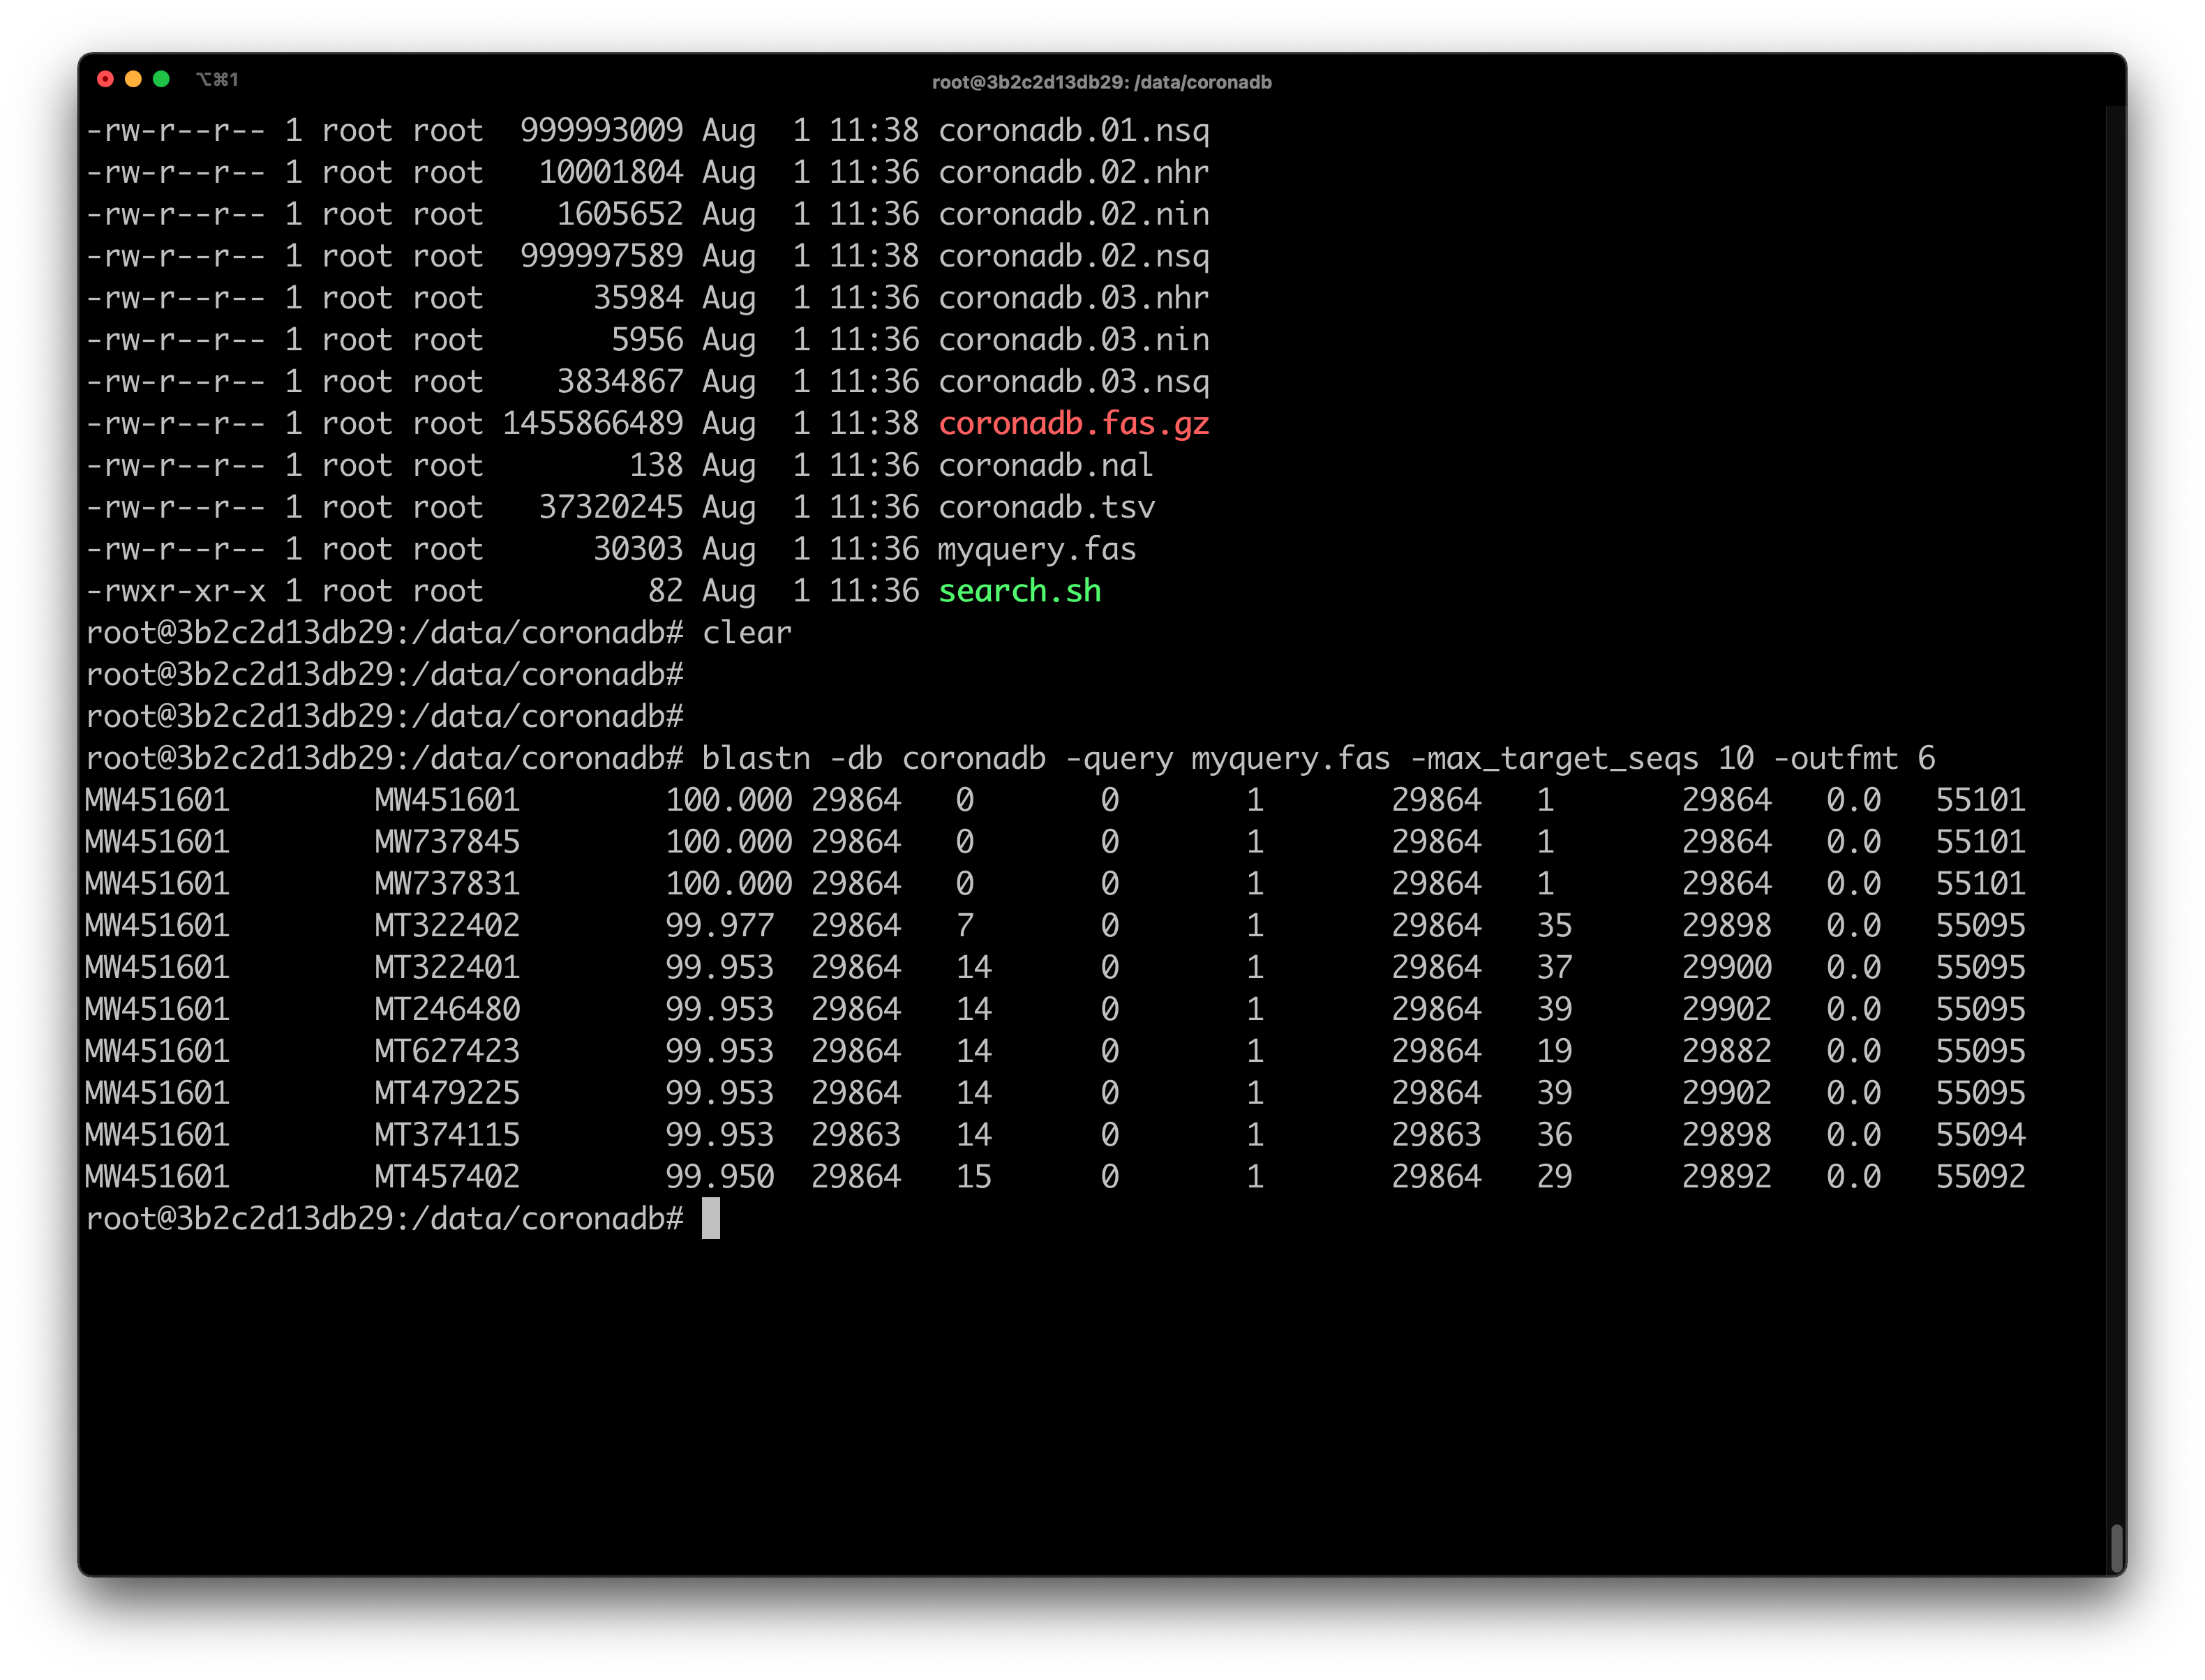
blastn -db coronadb -query myquery.fas -max_target_seqs 10 -outfmt 6
After the BLAST search is complete, it will generate the following output:

With that, now you have your bioinformatics workstation 🤗
If you want the full stack image, you may follow the same steps omitting -light part to install the bioinformatics-toolbox.
Happy Bioinformatics! 😉